If the tolerance exceeds the required range, what remedial measures are there for the stainless
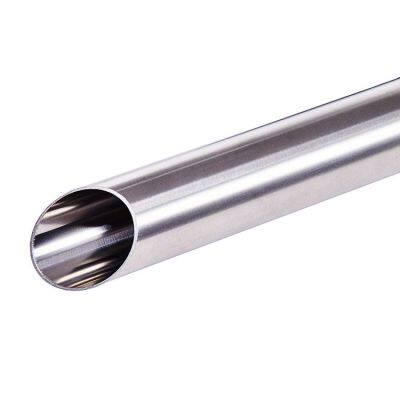
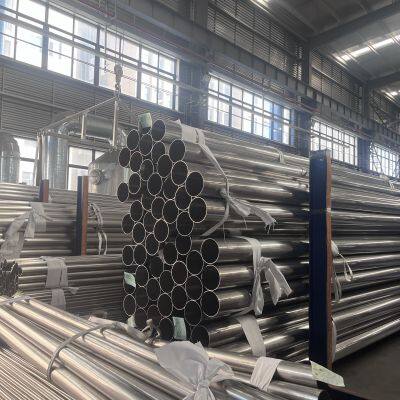
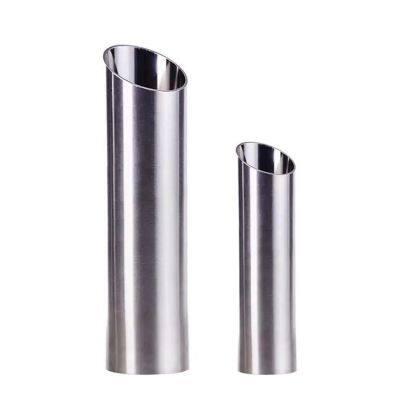
In the Sichuan-Tibet Railway project, if the size tolerance of the stainless steel pipes exceeds the required range, scientific and graded remedial measures should be taken based on the degree of deviation, application scenarios (such as water supply, oxygen supply, structural support, etc.) and the impact on the safety of the project. The core principle is to ensure that the final product meets the design performance requirements and does not leave any safety hazards. The specific measures are as follows:
I. Comprehensive Evaluation of Deviation Conditions
Before implementing remedial measures, it is necessary to determine the nature, scope, and impact of the deviation through multi-dimensional testing to avoid hasty handling:
Precise Detection and Data Recording
Use equipment such as laser diameter gauges, ultrasonic thickness gauges, and three-dimensional scanners to quantify deviation parameters (such as outer diameter deviation values, maximum wall thickness difference, excessive bending magnitude, etc.), and record the location (local / overall) and distribution pattern (uniform / discrete) of the deviation.
Combine material performance tests (such as tensile tests, hardness tests) to determine whether the deviation is accompanied by a decrease in mechanical properties (such as insufficient pressure resistance due to too thin wall thickness).
Impact Analysis
Evaluate the impact of the deviation on subsequent installation: such as whether an excessively large outer diameter causes pipe fittings to fail to align, and whether too thin wall thickness meets the design pressure (such as oxygen supply pipelines need to withstand 1.0 MPa pressure).
II. Graded Remedial Measures (Based on Degree of Deviation)
1. Minor Deviation (Deviation Value ≤ 120% of Required Tolerance, and Does Not Affect Core Performance)
Applicable to situations where the outer diameter / wall thickness is slightly exceeded, or the bending degree and length deviation are relatively small, mainly using mechanical processing for correction:
Outer Diameter / Inner Diameter Deviation: Use CNC external cylindrical grinding machine or internal cylindrical grinding machine for micro-cutting, with each grinding stroke controlled within 0.05-0.1mm to avoid excessive processing that causes wall thinning. For example: When the outer diameter exceeds the requirement by 0.6mm (±0.5mm), through grinding, the deviation can be controlled within ±0.4mm while ensuring that the surface roughness Ra ≤ 1.6μm (to prevent corrosion medium from adhering).
Local Wall Thickness Deviation: For areas with excessive wall thickness (such as excessive residual height at the welding point), use an angle grinder combined with a grinding wheel to polish to the design value. After polishing, a surface passivation treatment (applying passivation paste and leaving it to stand for 30 minutes before rinsing) is required to restore the corrosion resistance.
Bending Degree Deviation: Use a hydraulic straightening machine for cold straightening. Through segmented pressure application (each segment pressure ≤ 80% of the material's yield strength) to correct the bending. After straightening, stress elimination treatment (low-temperature annealing at 200-300°C, holding for 1 hour) is required to avoid residual stress causing secondary deformation.
Length Deviation: For extremely long steel pipes, use CNC plasma cutting machine to precisely cut to the designed length (cutting edge perpendicularity ≤ 0.5mm). After cutting, remove burrs and perform beveling treatment (angle 30° ± 2°), ensuring the quality of the weld.
2. Moderate Deviation (Deviation Value > 120% of Required Tolerance, but Core Performance Not Lost)
Applicable to situations where the overall size deviation is large but the material itself is qualified. It is necessary to combine process repair + performance verification:
Wall Thickness Inhomogeneity (Local Under/Over Thickness):
For local over-thickness areas: Use argon arc welding to add thickness (first clean the surface to Sa2.5 level, select the same material welding wire such as ER316L), after welding, polish to the designed wall thickness, the weld seam needs to be confirmed without pores and cracks by penetrant testing (PT).
For local under-thickness areas: If the position is allowed (non-bearing core area), a "local reinforcement" solution can be adopted, such as welding an additional ring on the outside (width ≥ 50mm, thickness ≥ the deviation value), and conducting a water pressure test (1.5 times the design pressure, holding for 30 minutes) to verify the sealing performance.
Severe Bending (Bending Degree > 3mm/m): Use "Hot Straightening + Mechanical Fixation": Heat the steel pipe to 800-900°C (the softening temperature range of austenitic stainless steel), use special tooling fixtures to fix it, and slowly cool it down, with the cooling rate controlled within 50°C/hour to prevent the formation of hot cracks. After straightening, the bending degree should be ≤ 1.5mm/m, and the straightness should be detected (using a 2m ruler measurement, the gap ≤ 0.5mm).
3. Severe Deviation (Deviation Value > 150% of Required Tolerance, or Accompanied by Performance Failure)
Applicable to situations where the overall size is severely exceeded (such as wall thickness less than 80% of the design value), mechanical properties do not meet the standard (such as tensile strength lower than the standard value), or the deviation causes the safety requirements to be violated (such as excessive bending of the steel pipe for structural support affecting load-bearing), it needs to be scrapped or downgraded for use:
Direct Scrap: For steel pipes where the core performance is lost due to deviation (such as leakage in the pressure test, insufficient wall thickness to withstand the design pressure), directly mark as scrap, prohibit from entering the construction site, and trace the production process (such as abnormal rolling parameters, detection negligence).
Downgraded Use: For steel pipes with deviation but qualified performance, after assessment by the design unit, downgrade for use in non-critical areas (such as converting from the main water supply pipeline to a temporary drainage pipeline, from the high-pressure oxygen supply pipe to a low-pressure ventilation pipe), and clearly mark the usage scope and restrictions.
III. Verification and Acceptance after Remediation
After all remedial measures are implemented, strict testing must be conducted to confirm compliance:
Dimension recheck: Re-measure using the original testing equipment to ensure that the tolerance meets the requirements (e.g., outer diameter deviation ≤ ±0.5mm, wall thickness deviation ≤ ±10% S).
Performance verification:
Pressure test: Conduct a water pressure/gas pressure test on the fluid pipeline at 1.5 times the design pressure (maintain pressure for 30 minutes without leakage).
Non-destructive testing: For the re-welded areas, use radiographic testing (RT) or ultrasonic testing (UT) to ensure that the weld quality reaches level II or above.
Document recording: Include the out-of-tolerance parameters, remediation process, and test results in the quality file as the basis for subsequent traceability.
IV. Prevention and Traceability Mechanism
To prevent the recurrence of out-of-specification issues, the following measures need to be implemented simultaneously:
Source Traceability: Trace the production batch, equipment parameters, and operators of the out-of-specification steel pipes through the MES system, identify the causes (such as insufficient rolling machine accuracy, malfunction of the testing equipment), and rectify the production process.
Strengthen On-site Inspection: Increase the proportion of random inspections (from the usual 10% to 20%), adopt the "double inspection system" (self-inspection by the manufacturer + re-inspection by a third party), and prevent non-conforming products from flowing into the construction process.
In summary, for the remediation of non-conforming stainless steel pipes in the Sichuan-Tibet Railway project, the principles of "prioritizing safety, relying on data, and handling in a graded manner" should be followed. Minor deviations can be corrected through precise processing, while severe deviations must be scrapped to ensure that each steel pipe meets the strict requirements of the plateau railway.
Recently Posted
-
What are the common defects of stainless steel welding pipes
December 25, 2025Underfilled: The phenomenon where the root of the joint is not fully welded during fusion welding is called underfilled. This defe Read More
 -
Introducing the ideal material for fire protection piping system: 304 stainless steel pipe
December 25, 2025In modern architecture, fire safety is of utmost importance. The fire protection pipeline system, as the core component of the fix Read More
 -
Why are sanitary-grade stainless steel pipes so important
December 25, 2025In modern industrial production and daily life, the safety and hygiene of pipeline systems are of utmost importance. Hygienic-grad Read More
 -
What are the differences between different types of stainless steel water pipes
December 25, 2025In modern architecture and industry, stainless steel pipes have become the preferred pipe material. They have advantages such as c Read More


